
| Here you can see the studs on the back of the trim. The small one in the middle is the one that holds the trim on. | 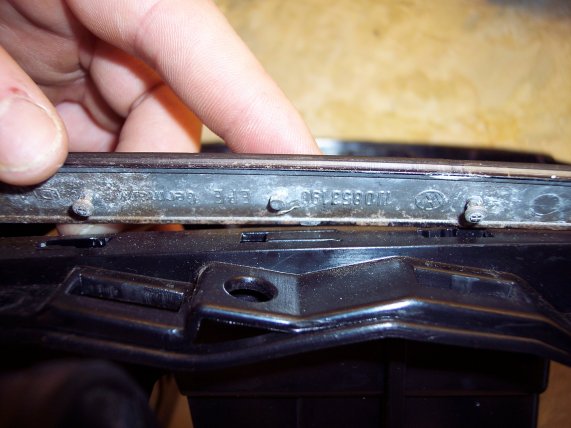 |
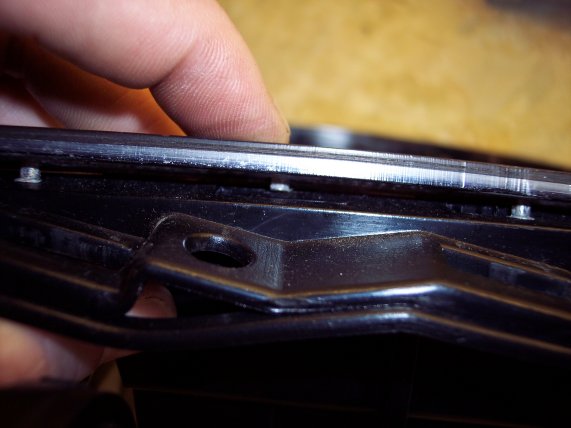 |
This is the trim being pushed down onto it's position on the radio cage. You can see how the small stud in the middle is pushing against the flap of plastic which can be seen more clearly on the first picture. |
|
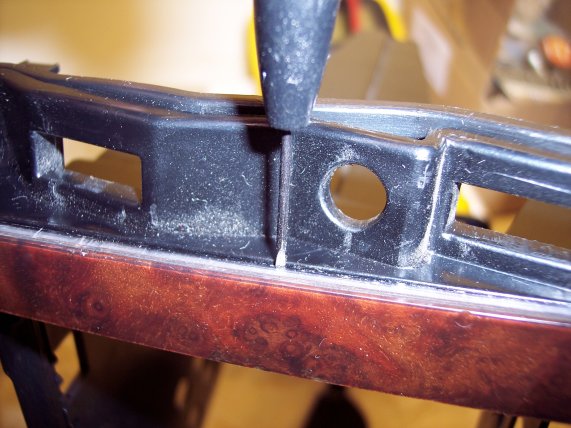
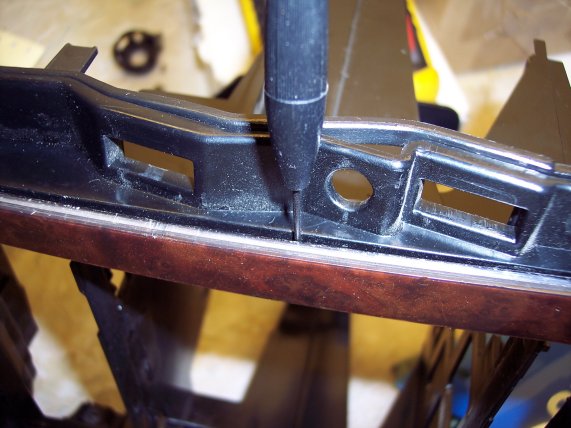
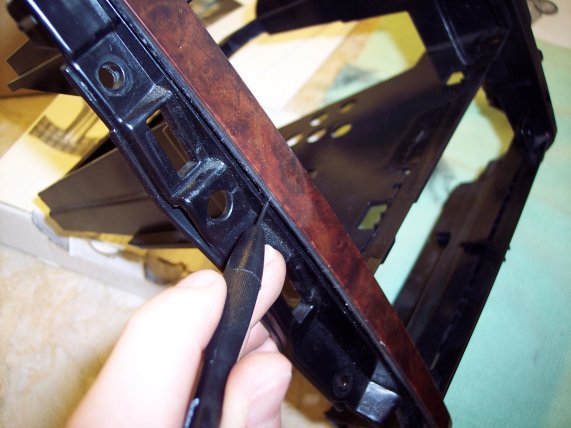
Now onto the process for taking the trim off. The best thing to use for this is a flat jewellers screwdriver or a normal very very small thin one. The first picture indicates exactly where the flap of plastic is holding the stud mentioned earlier. It's behind the trim where the tip of the screwdriver is pointing. This is an easy location to find as you can get it from using my picture as a guide, or by lining up the location from the inside edge of teh radio cage when you have the radio etc removed. The tab is located almost exactly in the middle of the double din opening. You can see this clearly in the second picture. As you can see from the process I am using i can get the screwdriver in from the outside where the glovebox or lower driver's side trim would be. It is not necessary to remove these and do it this way as the trim can be easily removed be just taking the cubby hole and radio out or whatever components are located in the radio cage. The second picture shows the tip of the screwdriver being pushed in behind the piece of trim. The idea is to get the tip exactly in the center of the trim so the plastic holding tab can be easily moved. Then we're ready to pop the trim off with a couple of simple steps. |
 |
 |
 |
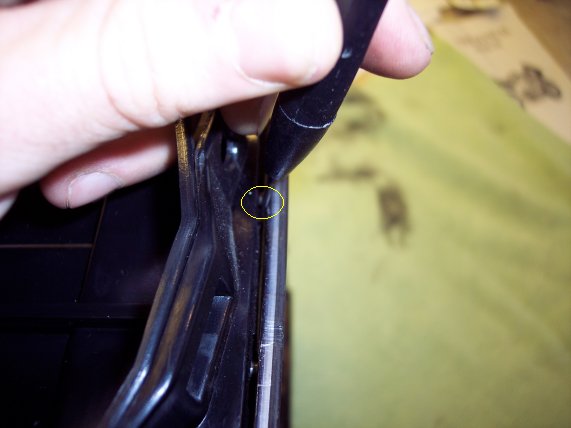
Now we prise the screwdriver out away from the dash. The tip of the screwdriver should now be flexing the small plastic tab in just far enough to allow the small stud to be slid away from it. In the second picture you can see the stud circled behind the tip of the screwdriver. |
 |
| With the screwdriver held in position pushing the tab in just push the trim down the way. Obviously this is easier for me as I had the radio cage out but you could prise it down the waywith a flat screwdriver covered in tape. | 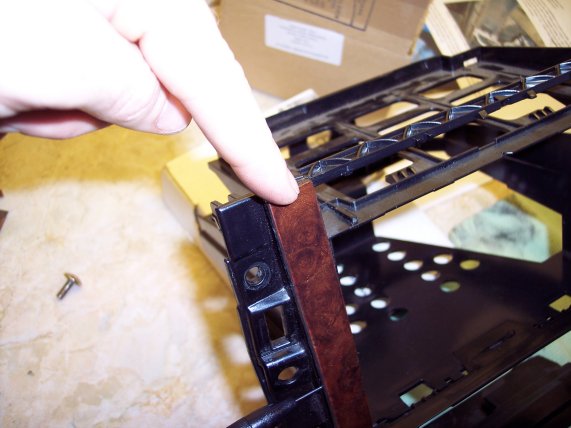 |
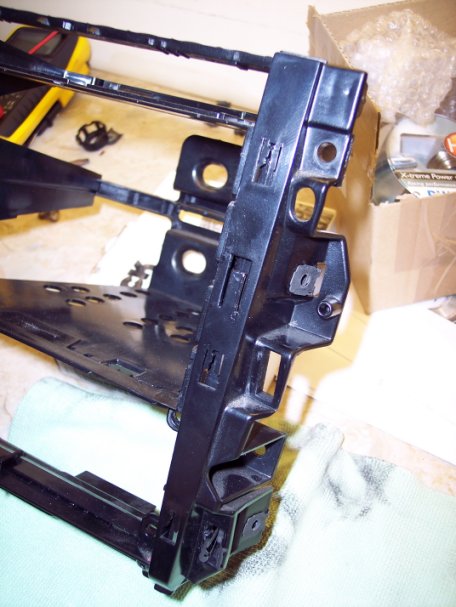 |
And here is the radio cage with no trim where you can see the tab in the middle that holds the trim on. The smaller clips are where the other larger studs slot into. These are the reason why the trim must be pushed down the way. If the trim was pulled straight out it would most likely break these clips or at the very least it would bend them. |