The Bora Build Up - Page 6 |
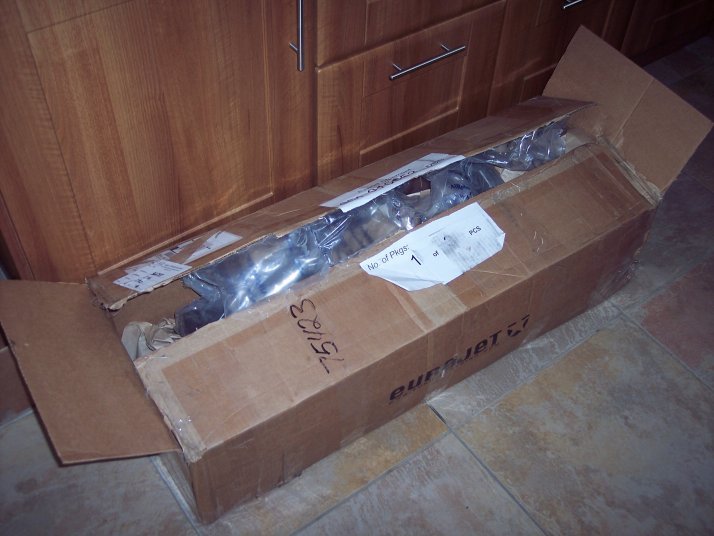
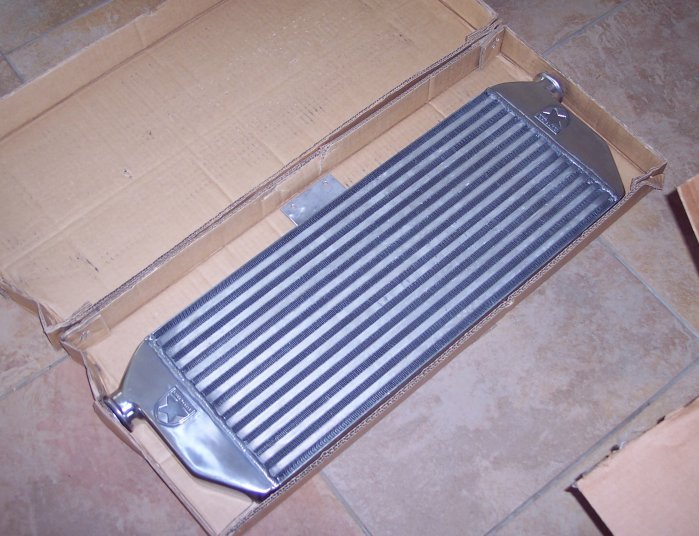
| The next few items are things which I am currently working on. The first item is a eurojet intercooler. |
  |
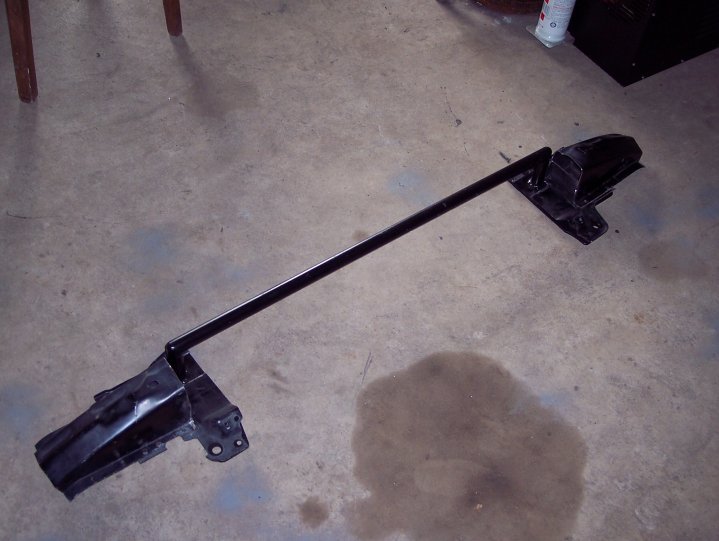
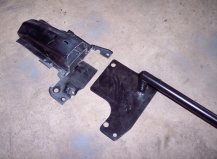
| Unfortunately there is a huge problem with Eurojet intercoolers. They come with a bumper bar which is made to replace the factory bumper. This is because the stock bumper will not fit with the intercooler. In my opinion, this is a strange way to do things and it would seem like an oversight and simple bad design. However, the intercooler comes at a good price and seems to work very well from all reports. The trouble with the bumper bar supplied is that it does not allow the use of headlight washers because there is no-where to bolt them onto. Here is the first cutting and sizing up of the parts I have cut from a stock bumper. I intend to fit these with the new eurojet bar. |

|
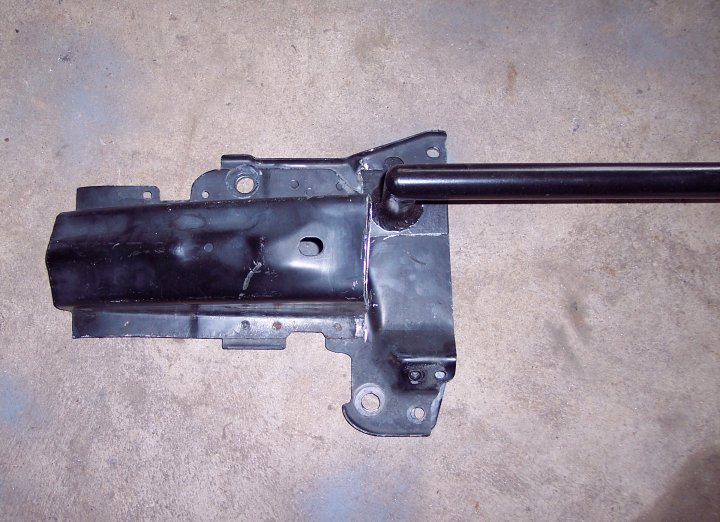
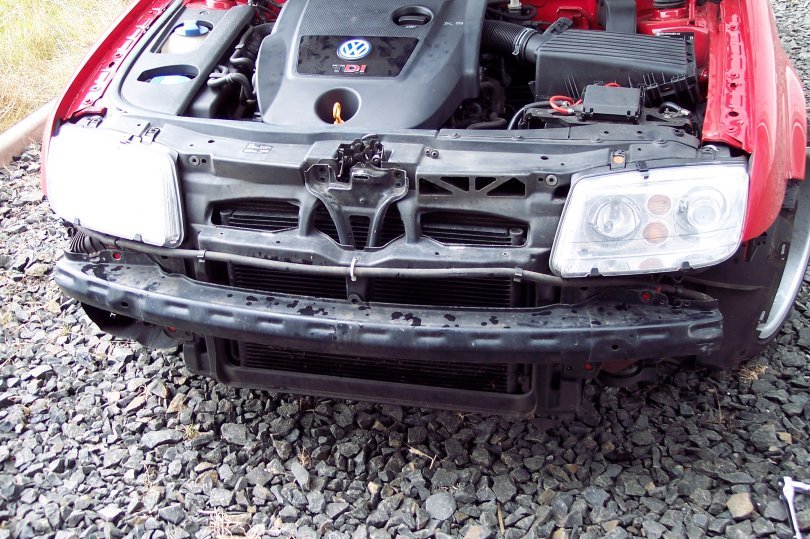
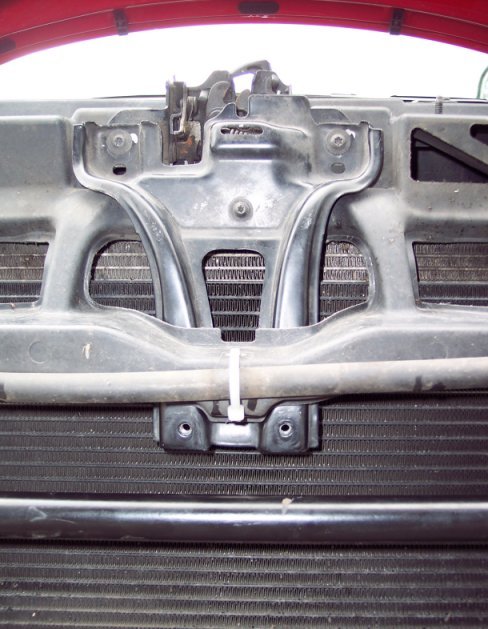
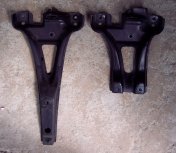
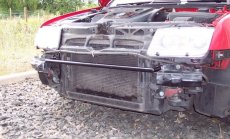
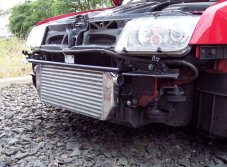
| Next was time for a test fit. Here is the car with the buper off with all the stock parts. I have also shown a close up of the stock UK bonnet latch. |
 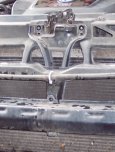 |
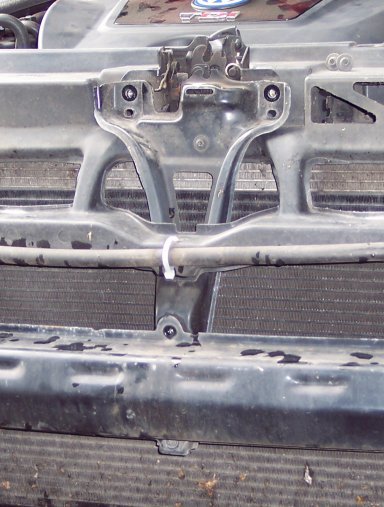
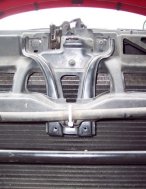
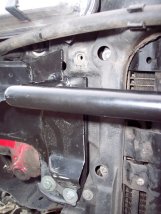
| And now you can see it with the bumper bar and latch removed. You can also see in the second picture the difference between the US and UK latches. The UK latch is the longer one. The Eurojet FMIC was made for the US market so it needs to bolt onto the US latch. |
  |
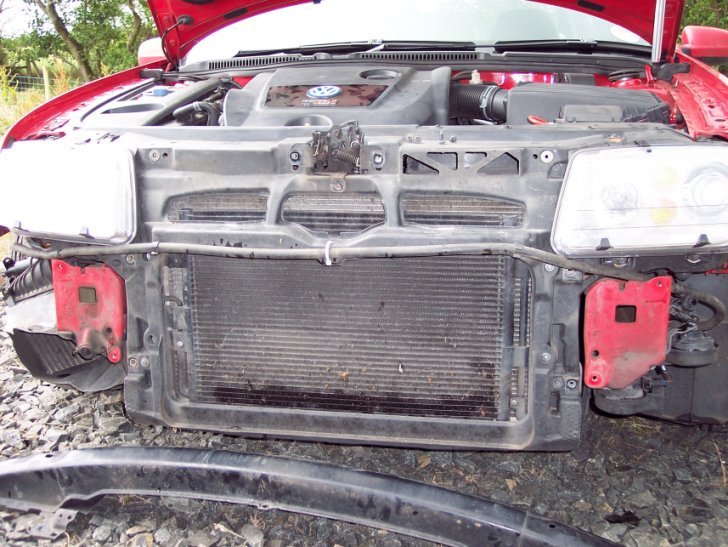
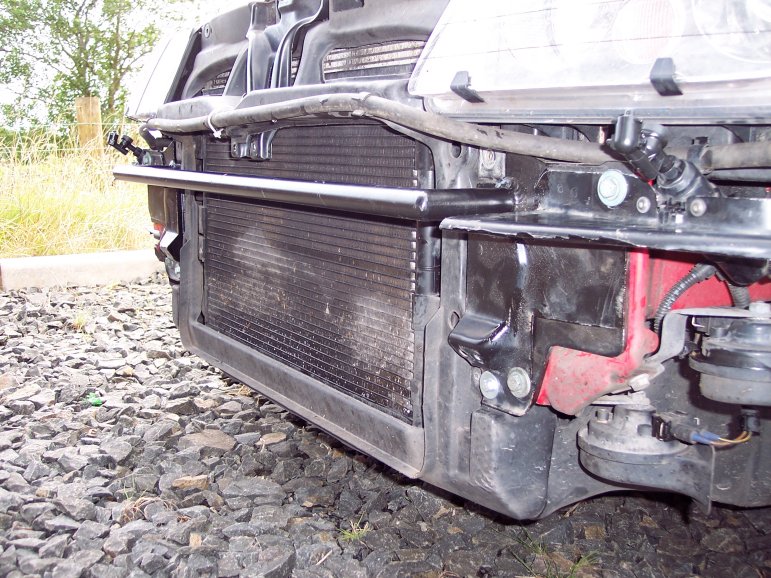
| And now to fit everything back together to see how it all fits. The US latch fits straight in and does not require any modification. The Eurojet FMIC then bolts to it using 2 small bolts. I used M6 threaded stainless steel bolts. |
 |
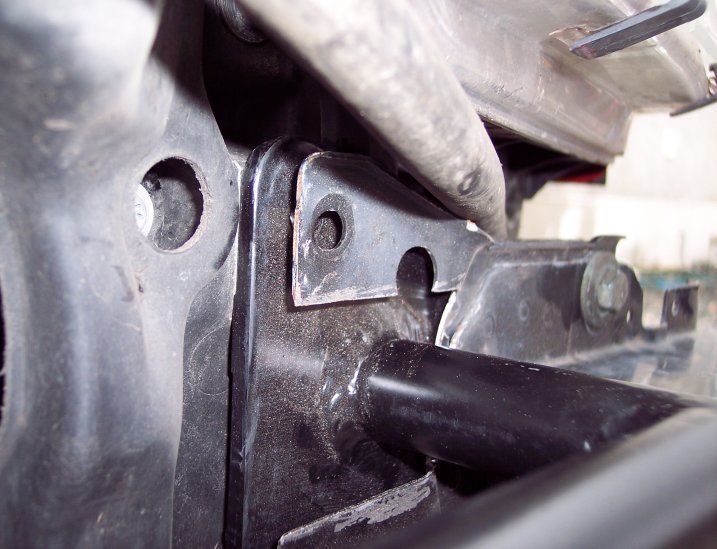
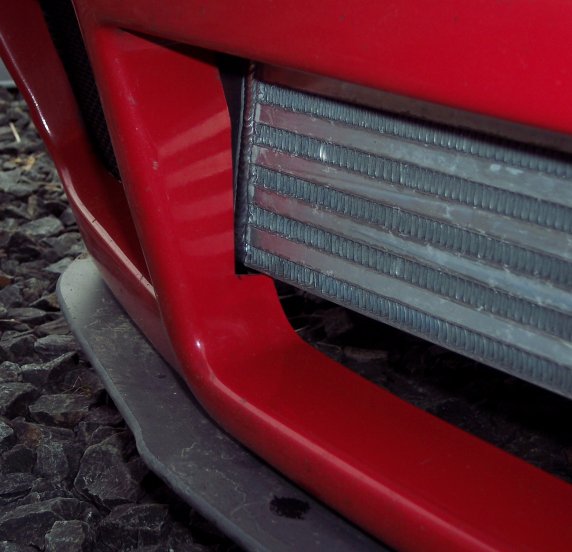
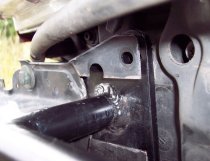
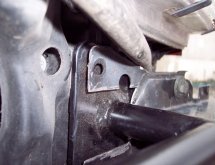
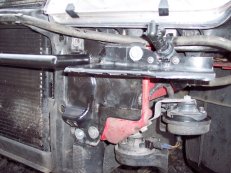
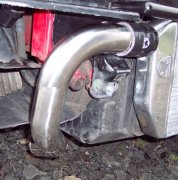
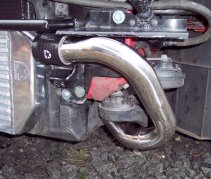
| Now we can take a look around at how the bar and intercooler fits. First of all it's quite strange the way the intercooler only seems to hang on 2 very small bolts and it moves around a litle. I'm hoping that the piping and bumper cover helps to steady this up. The other thing I noticed was that the stock bumper bar had a slightly offset bolt where it bolted onto the lock carrier. The lock carrier is the plastic part which holds the radiator. This caused a problem for the headlight washer brackets as they would now be at a slightly strange angle from the stock position. As if they were leaning forward. You can see the gap and offset from the 2 closeup pictures on the right. This problem was due to the eurojet bar being flat at the back. The other problem I could see was the newly cut headlight washer brackets which were made from the old bumper were to large and because of the height of the intercooler it meant that they were blocking the piping at each side of the core. |
  |
| I needed to try and sort this out so my only option was to modify the eurojet bar and make it fit. This meant cutting out the obstructing corner of the flat plate on the bar. This corner did not have any of the main bolts of the bumper bar so I could do this without causing much of a problem. A picture is shown on the left. I may also have to reattach an offset piece to mimic the stock bumper bar but this will be considered after the next test fit. I also had to cut away most of the headlight washer bracket and leave only the essential parts. |
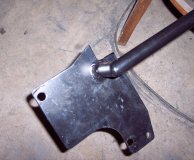  |
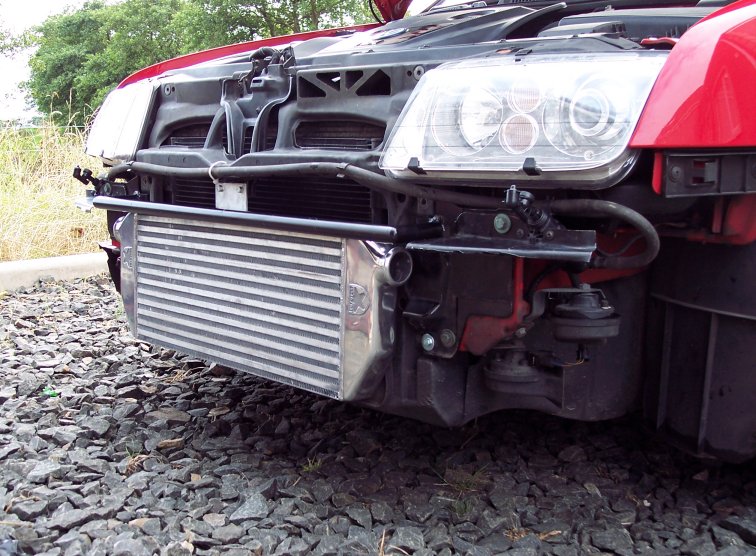
| This was the second test fitting. As you can see the eurojet bumper bar has had the corner cut off and fits much better and the headlight washer bracket has been trimmed drastically from what I had before. After fitting this on and screwing it up tight, I felt that the part in the corner of the bumper bar may not need to be re-attached after all as everything is quite tight and seems to fit quite well. |
 |
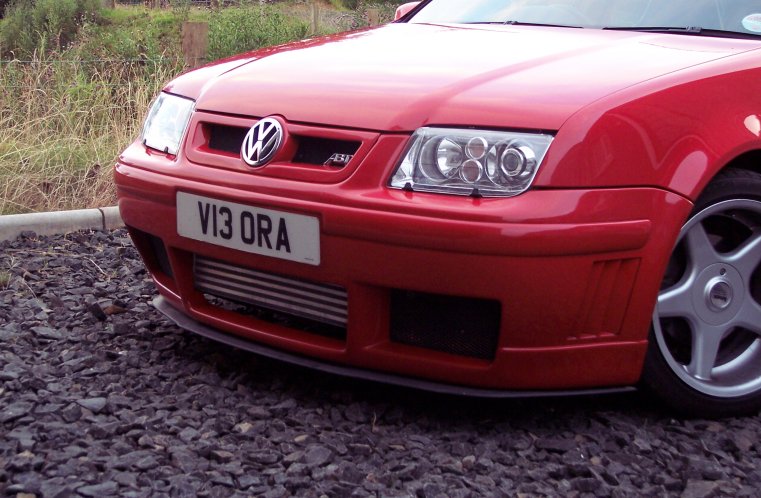
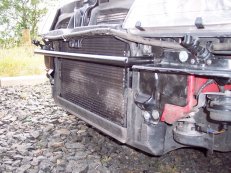
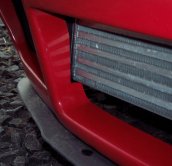
| This is the FMIC fitted and the bumper fitted against it. As you can see from the third picture, some trimming of the bumper plastic had to be done. I decided to only take away what was needed to be removed rather that cut plastic from all around the opening. |
 |
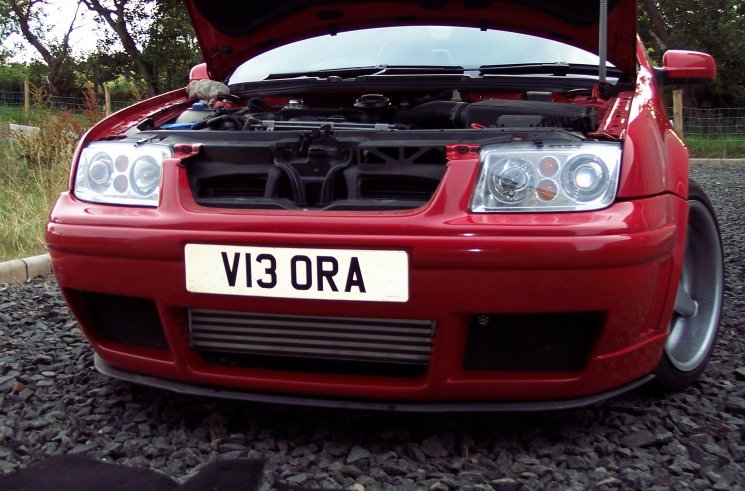
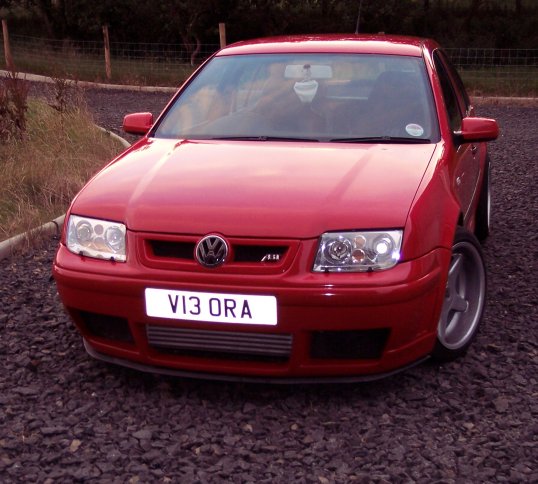
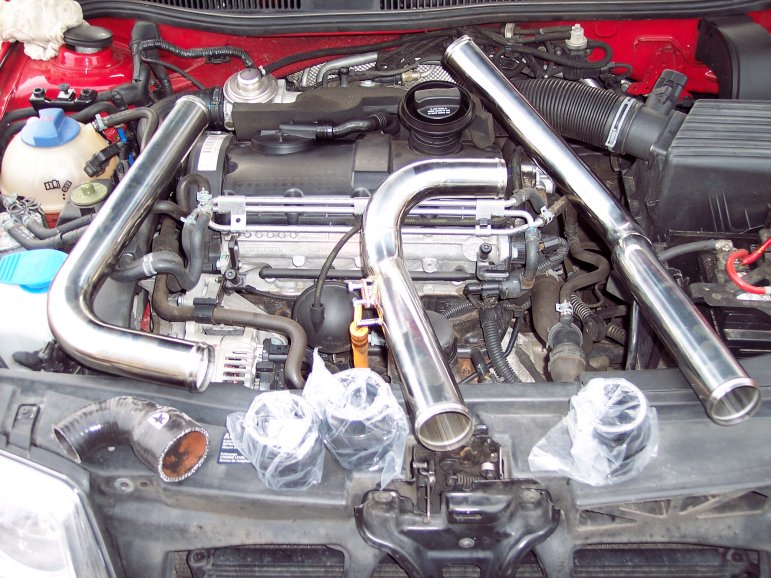
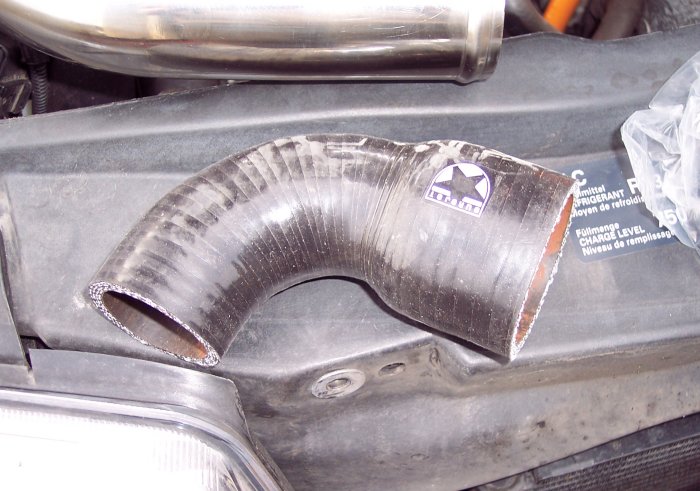
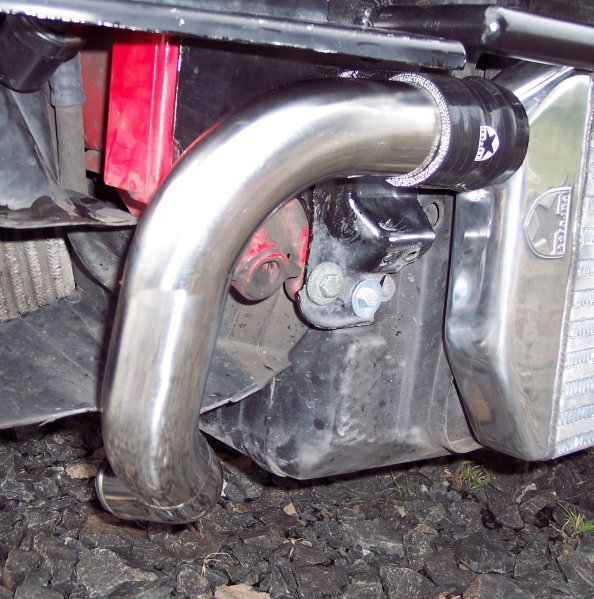
| Here's a couple of pictures of how it all fits together when everything is back on. Next mission is to work out the pipe work. |
  |
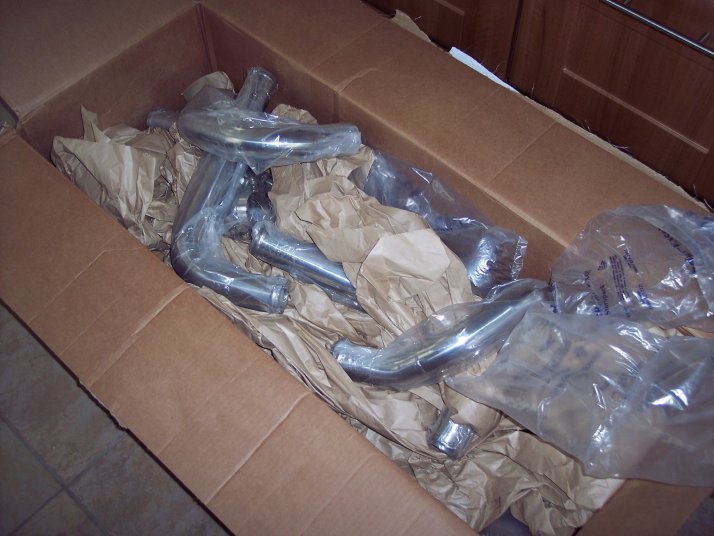
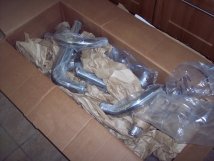
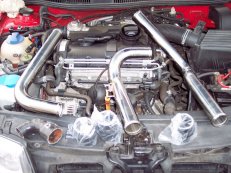
| Here is all the parts for the intercooler pipe work. What a jigsaw puzzle!! I just need to work the solution out for it now. |
  |
|
|
|